How to add and manage email contacts
In order to send email campaigns and automations you need to add some email contacts first.
Octoboard allows you to work independently in different organizations. Any organisation that you create in Octoboard can be connected to a number of different stores.
Whenever you add a new store to an Octoboard organization, all contacts sycnronised by the platform are only visible within that organization. Same for email campaigns and automations. They are only visible within an organization.
Since you can connect multiple stores per organization, whenever you define an email campaign or automation, you need to define what store it will take contacts from. You can send an individual campaign or automation to one or more stores that belong to the organization.
Same for contact uploads. Whenever you upload a contact file into an organization, you need to specify what store the uploaded contacts will belong to.
There are three ways to add contacts to an organization.
- Automatically add contacts when store is syncronised
- Add contacts whenever a client registers with your website (store or app)
- Add contacts by uploading CSV files
This happens automatically when you connect to a new WooCommerce, Stripe or Magento store. Contacts loaded from a store will belong to that store only and will only be visible within the store’s organization.
Whenever a new client (contact) logs into your store by entering an email address, in case of Magento and WooCommerce Octoboard will automatically add it to the contact list for the that connected store in real-time. In addition to that, Octoboard will synchronize the store every night to make sure no new contacts have been lost.
In case of Stripe, Octoboard will also see the new contact after the regular nightly synchronization has completed for the store. If you would like to add new contacts to Octoboard immediately after they have registered with your Stripe store or application, you need to send Octoboard a notification. We have provided an API that you can use to send new contacts to Octoboard E-commerce Suite in real-time.
To load contacts that are not part of your store, you can use CSV import feature.
Go to the Left Panel > E-commerce Analytics > Email Marketing > File Uploads and click the NEW UPLOAD.
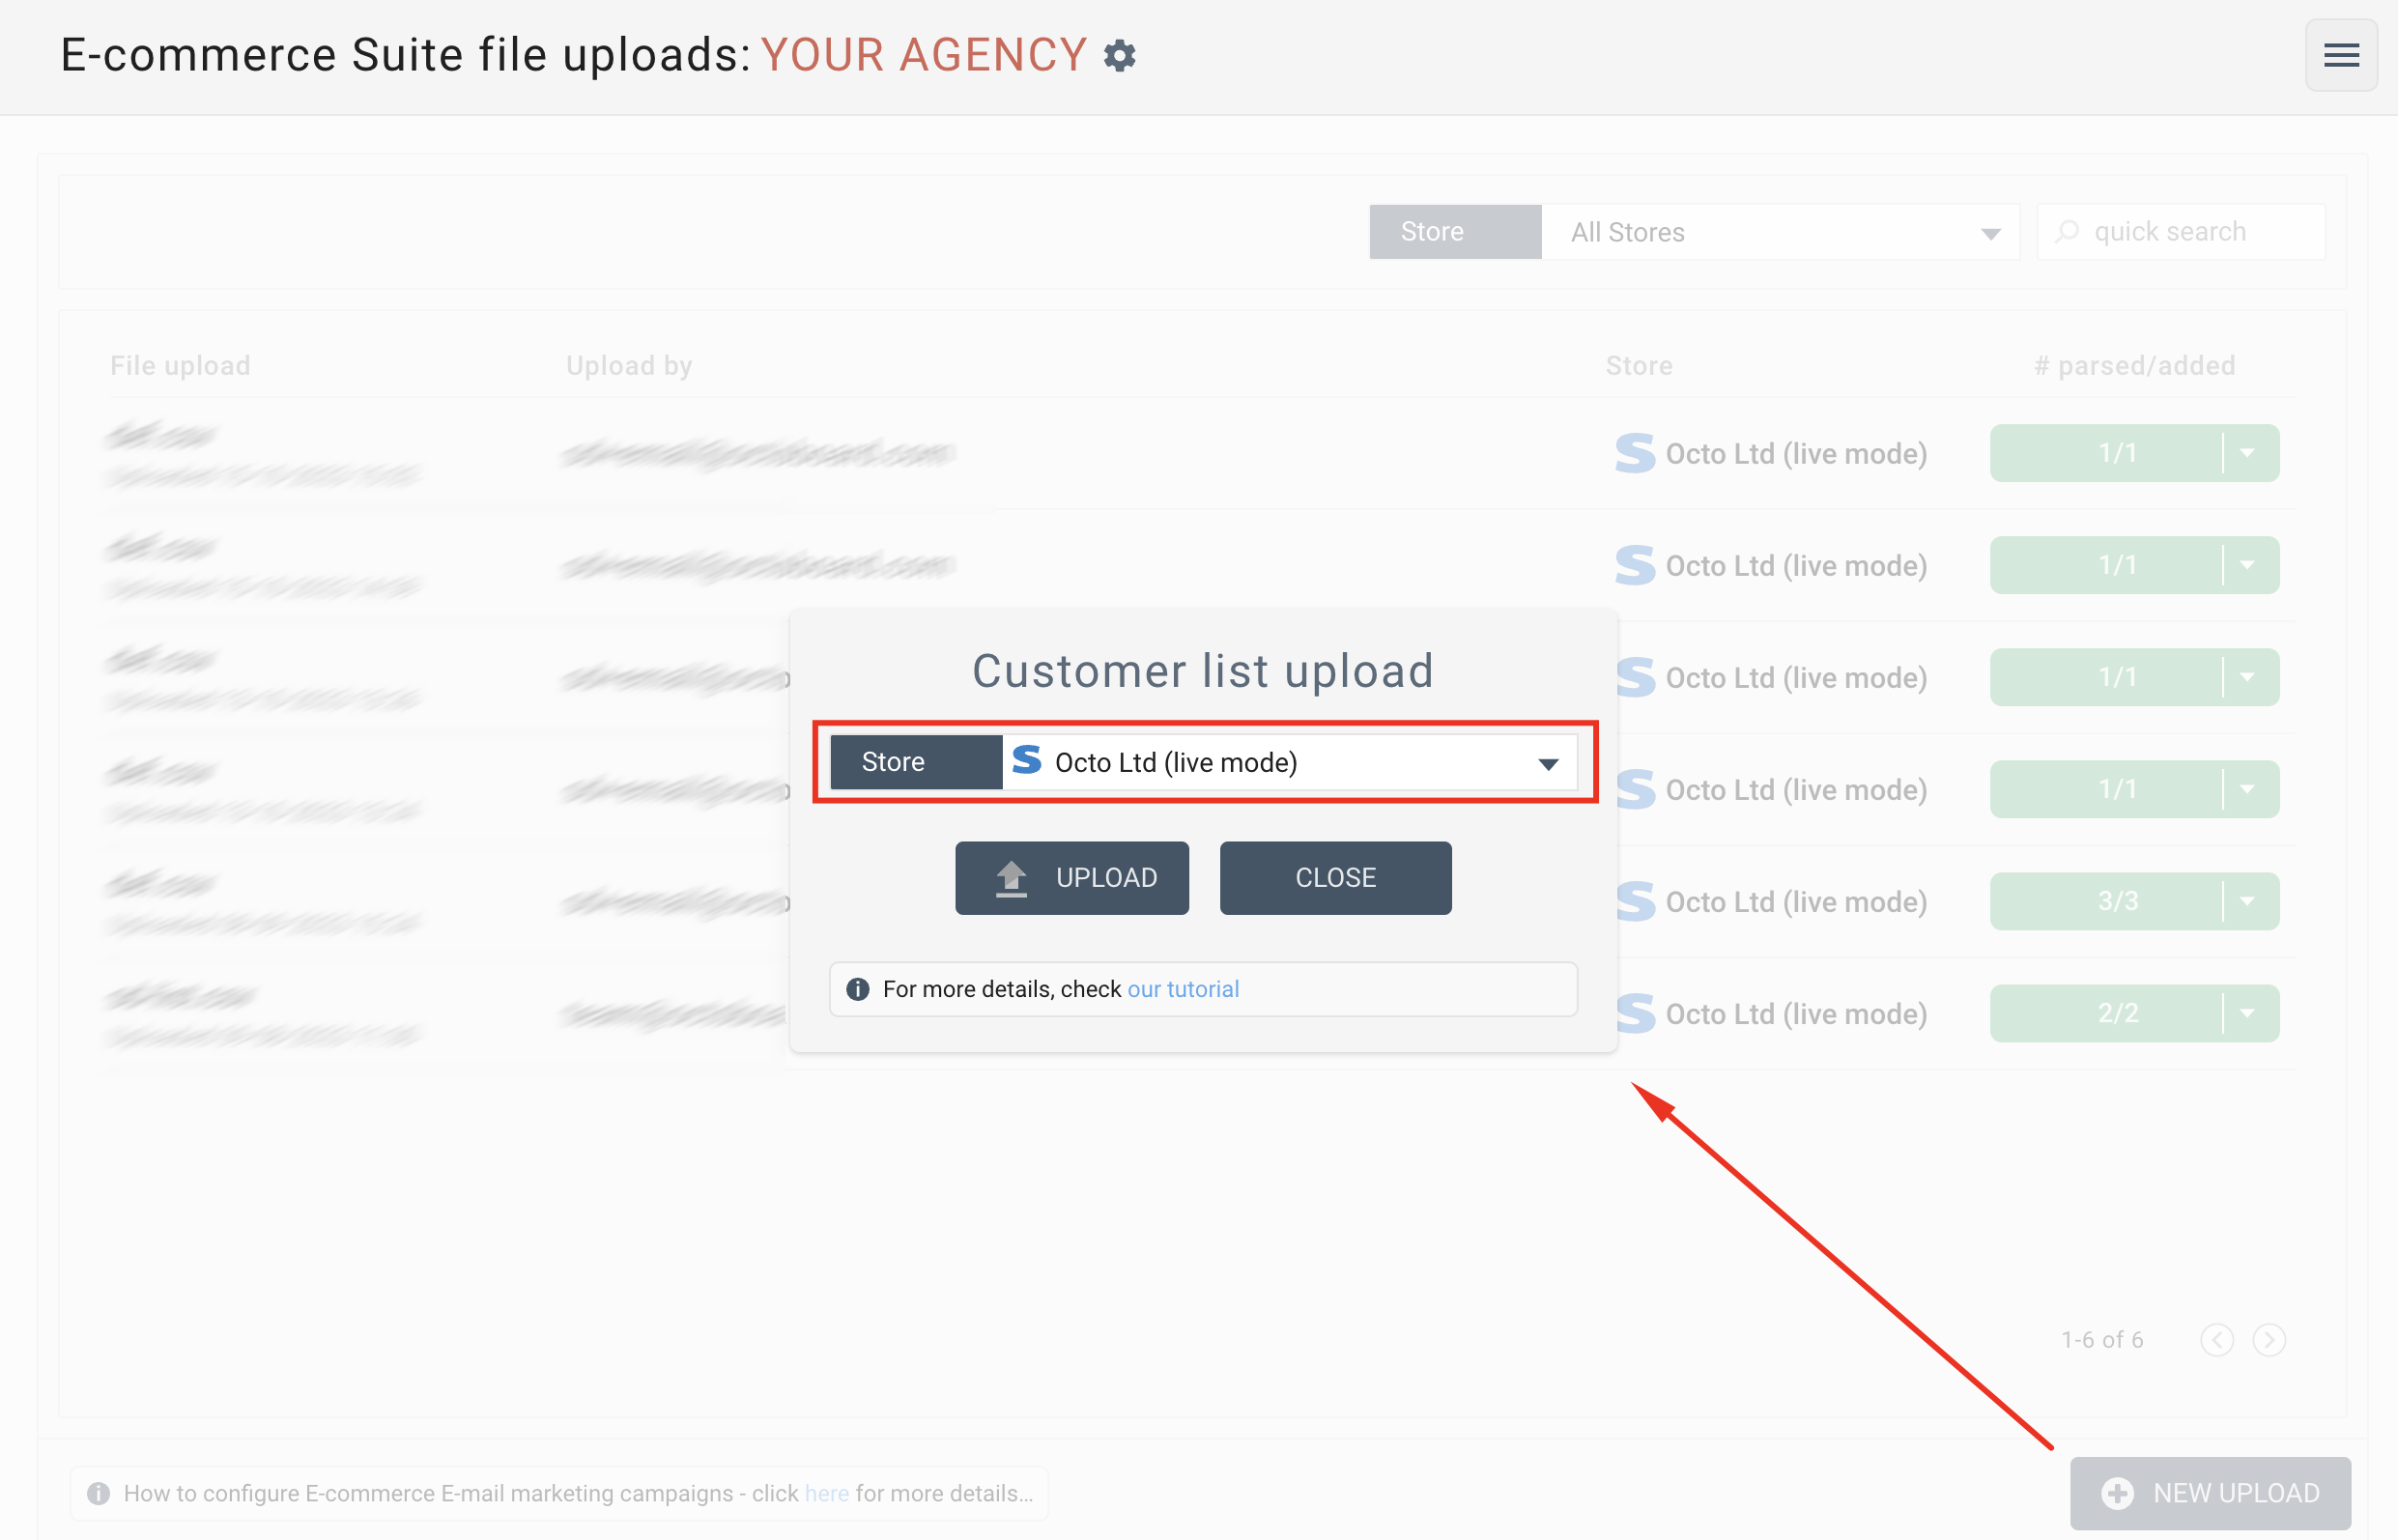
Since all email contacts in the system have to belong to a store, you will need to select one of the previously connected stores.
After the upload, the system will tell you how many contacts have been loaded. Only unique contacts that are not known in the system will be counted.
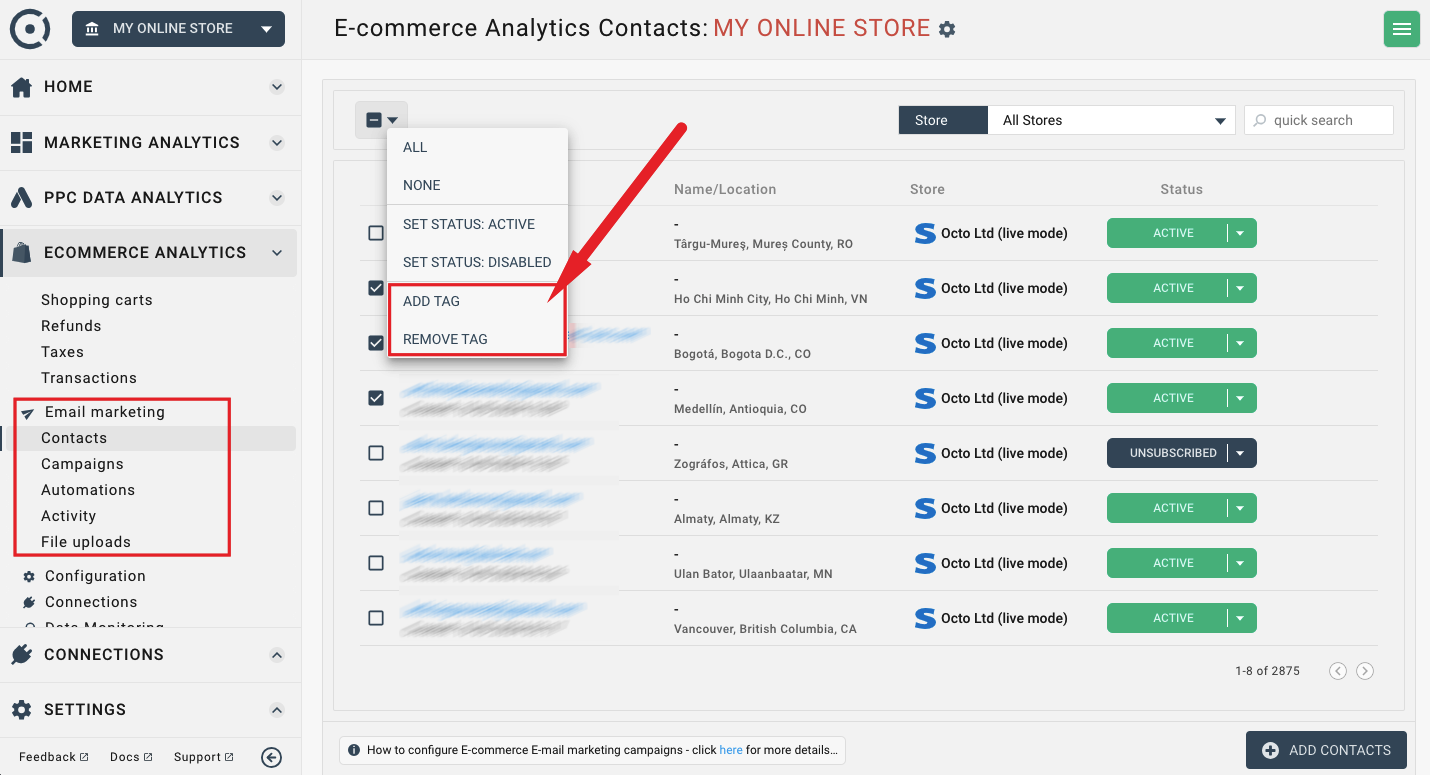
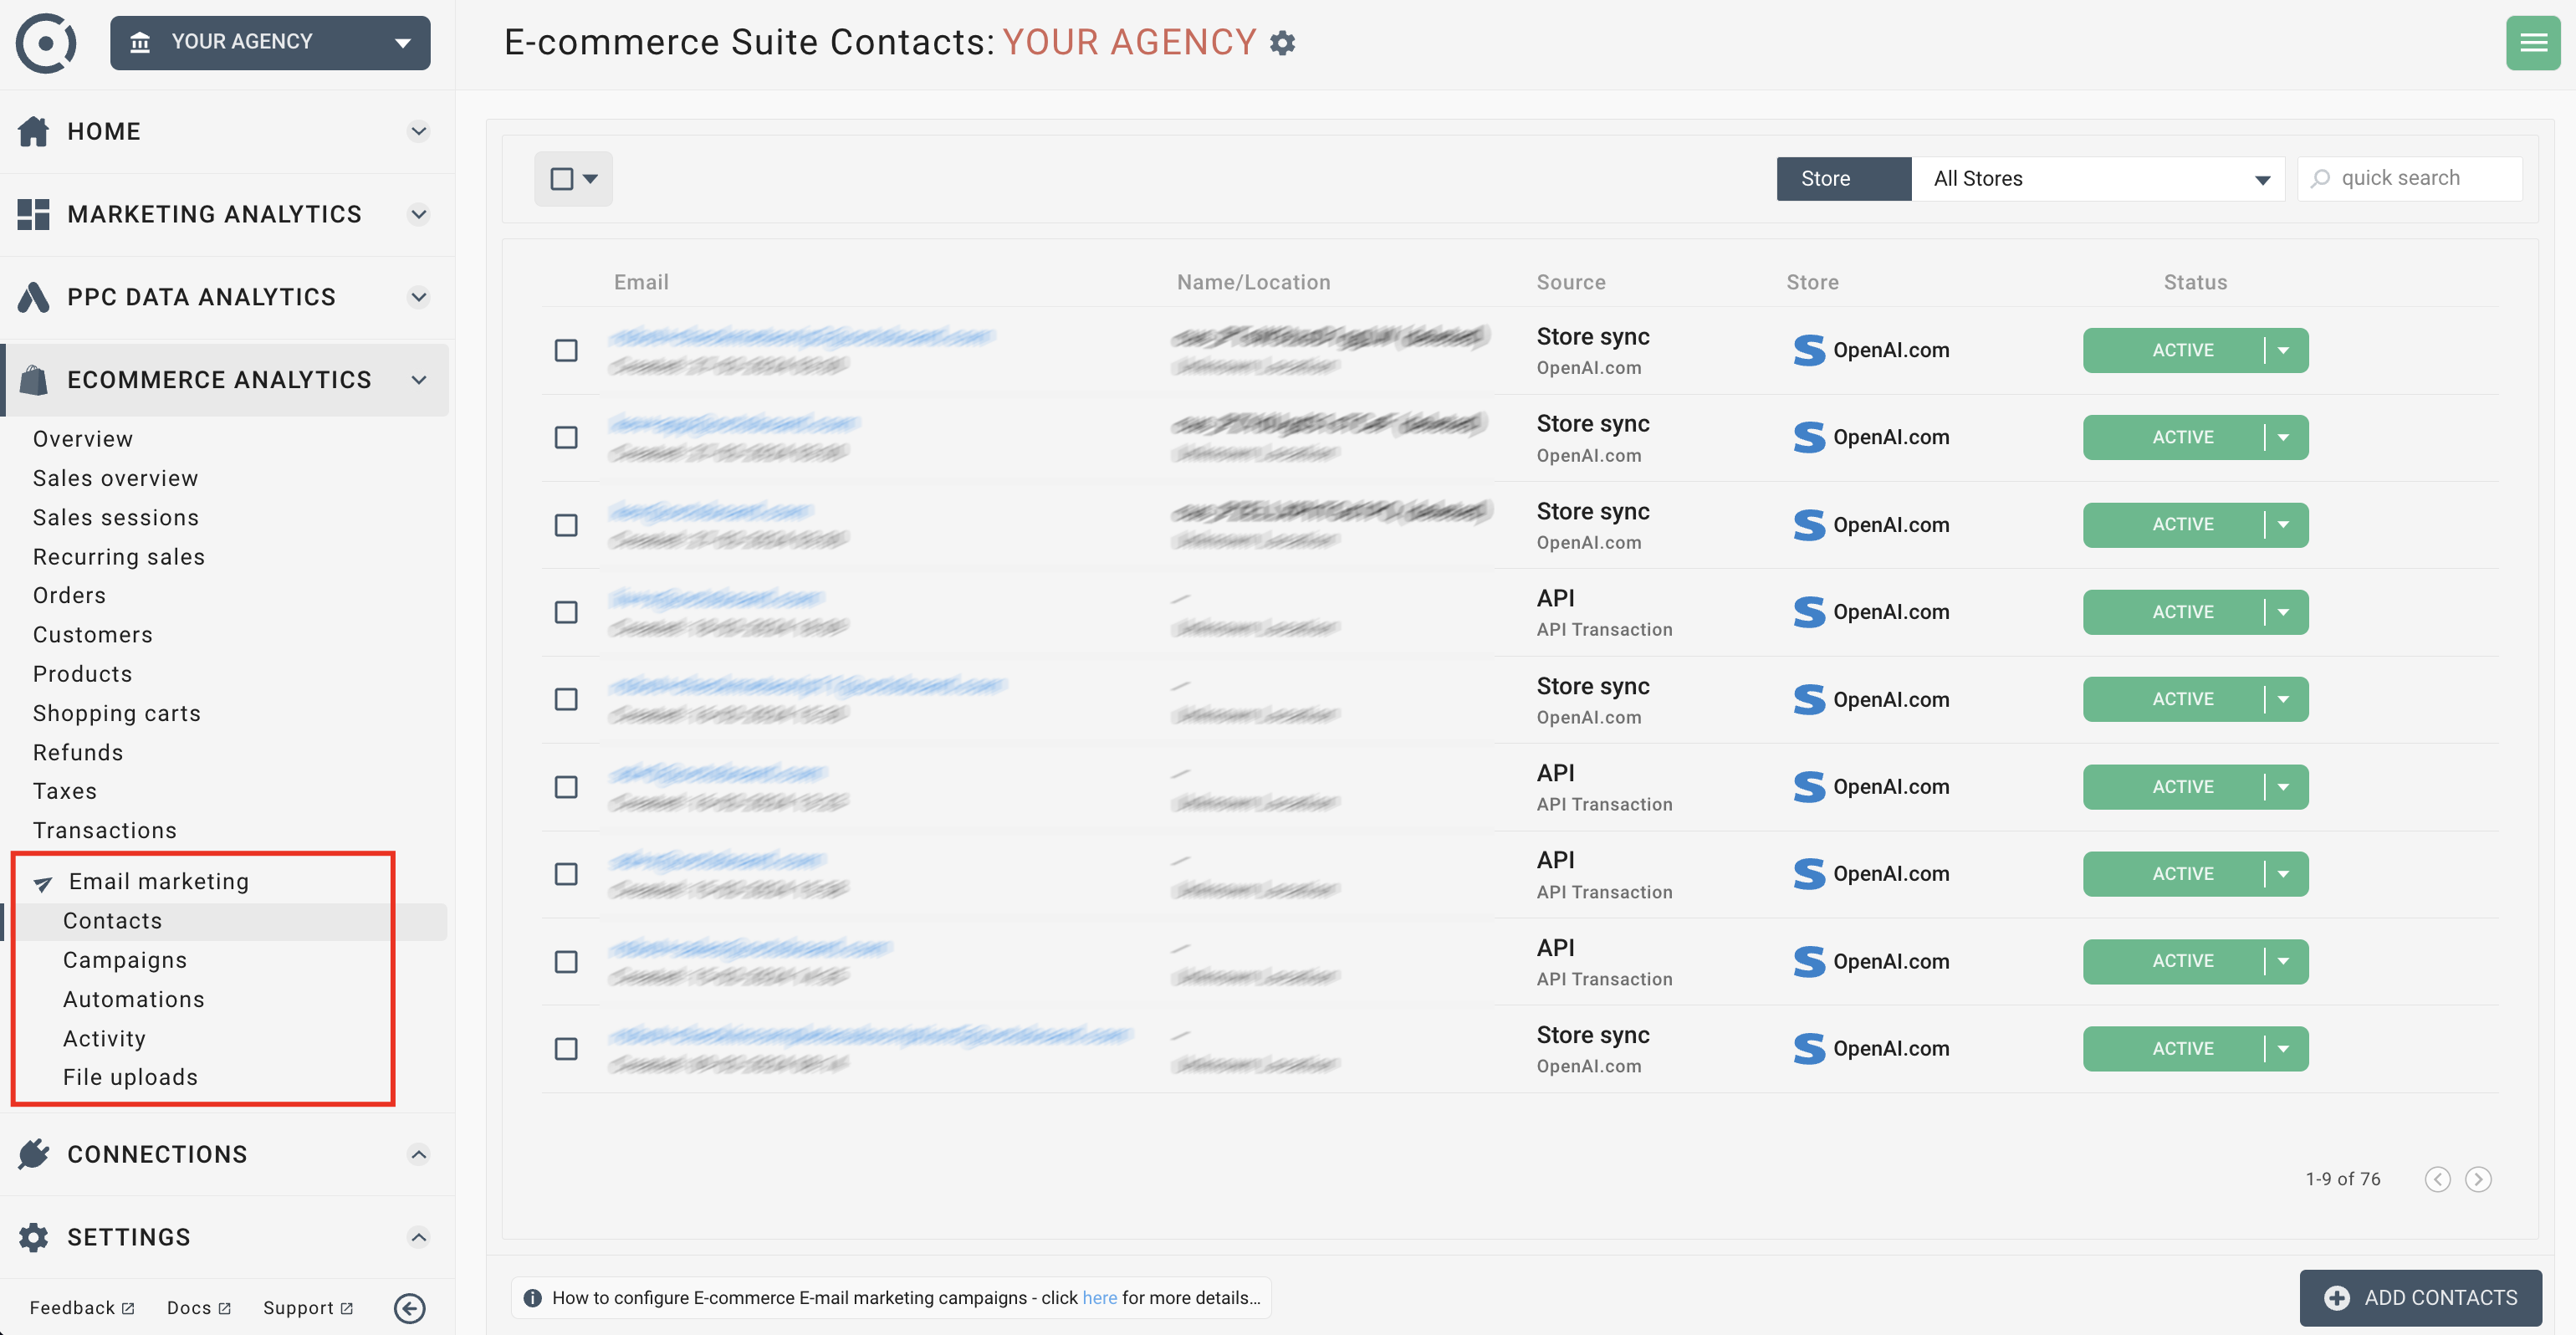
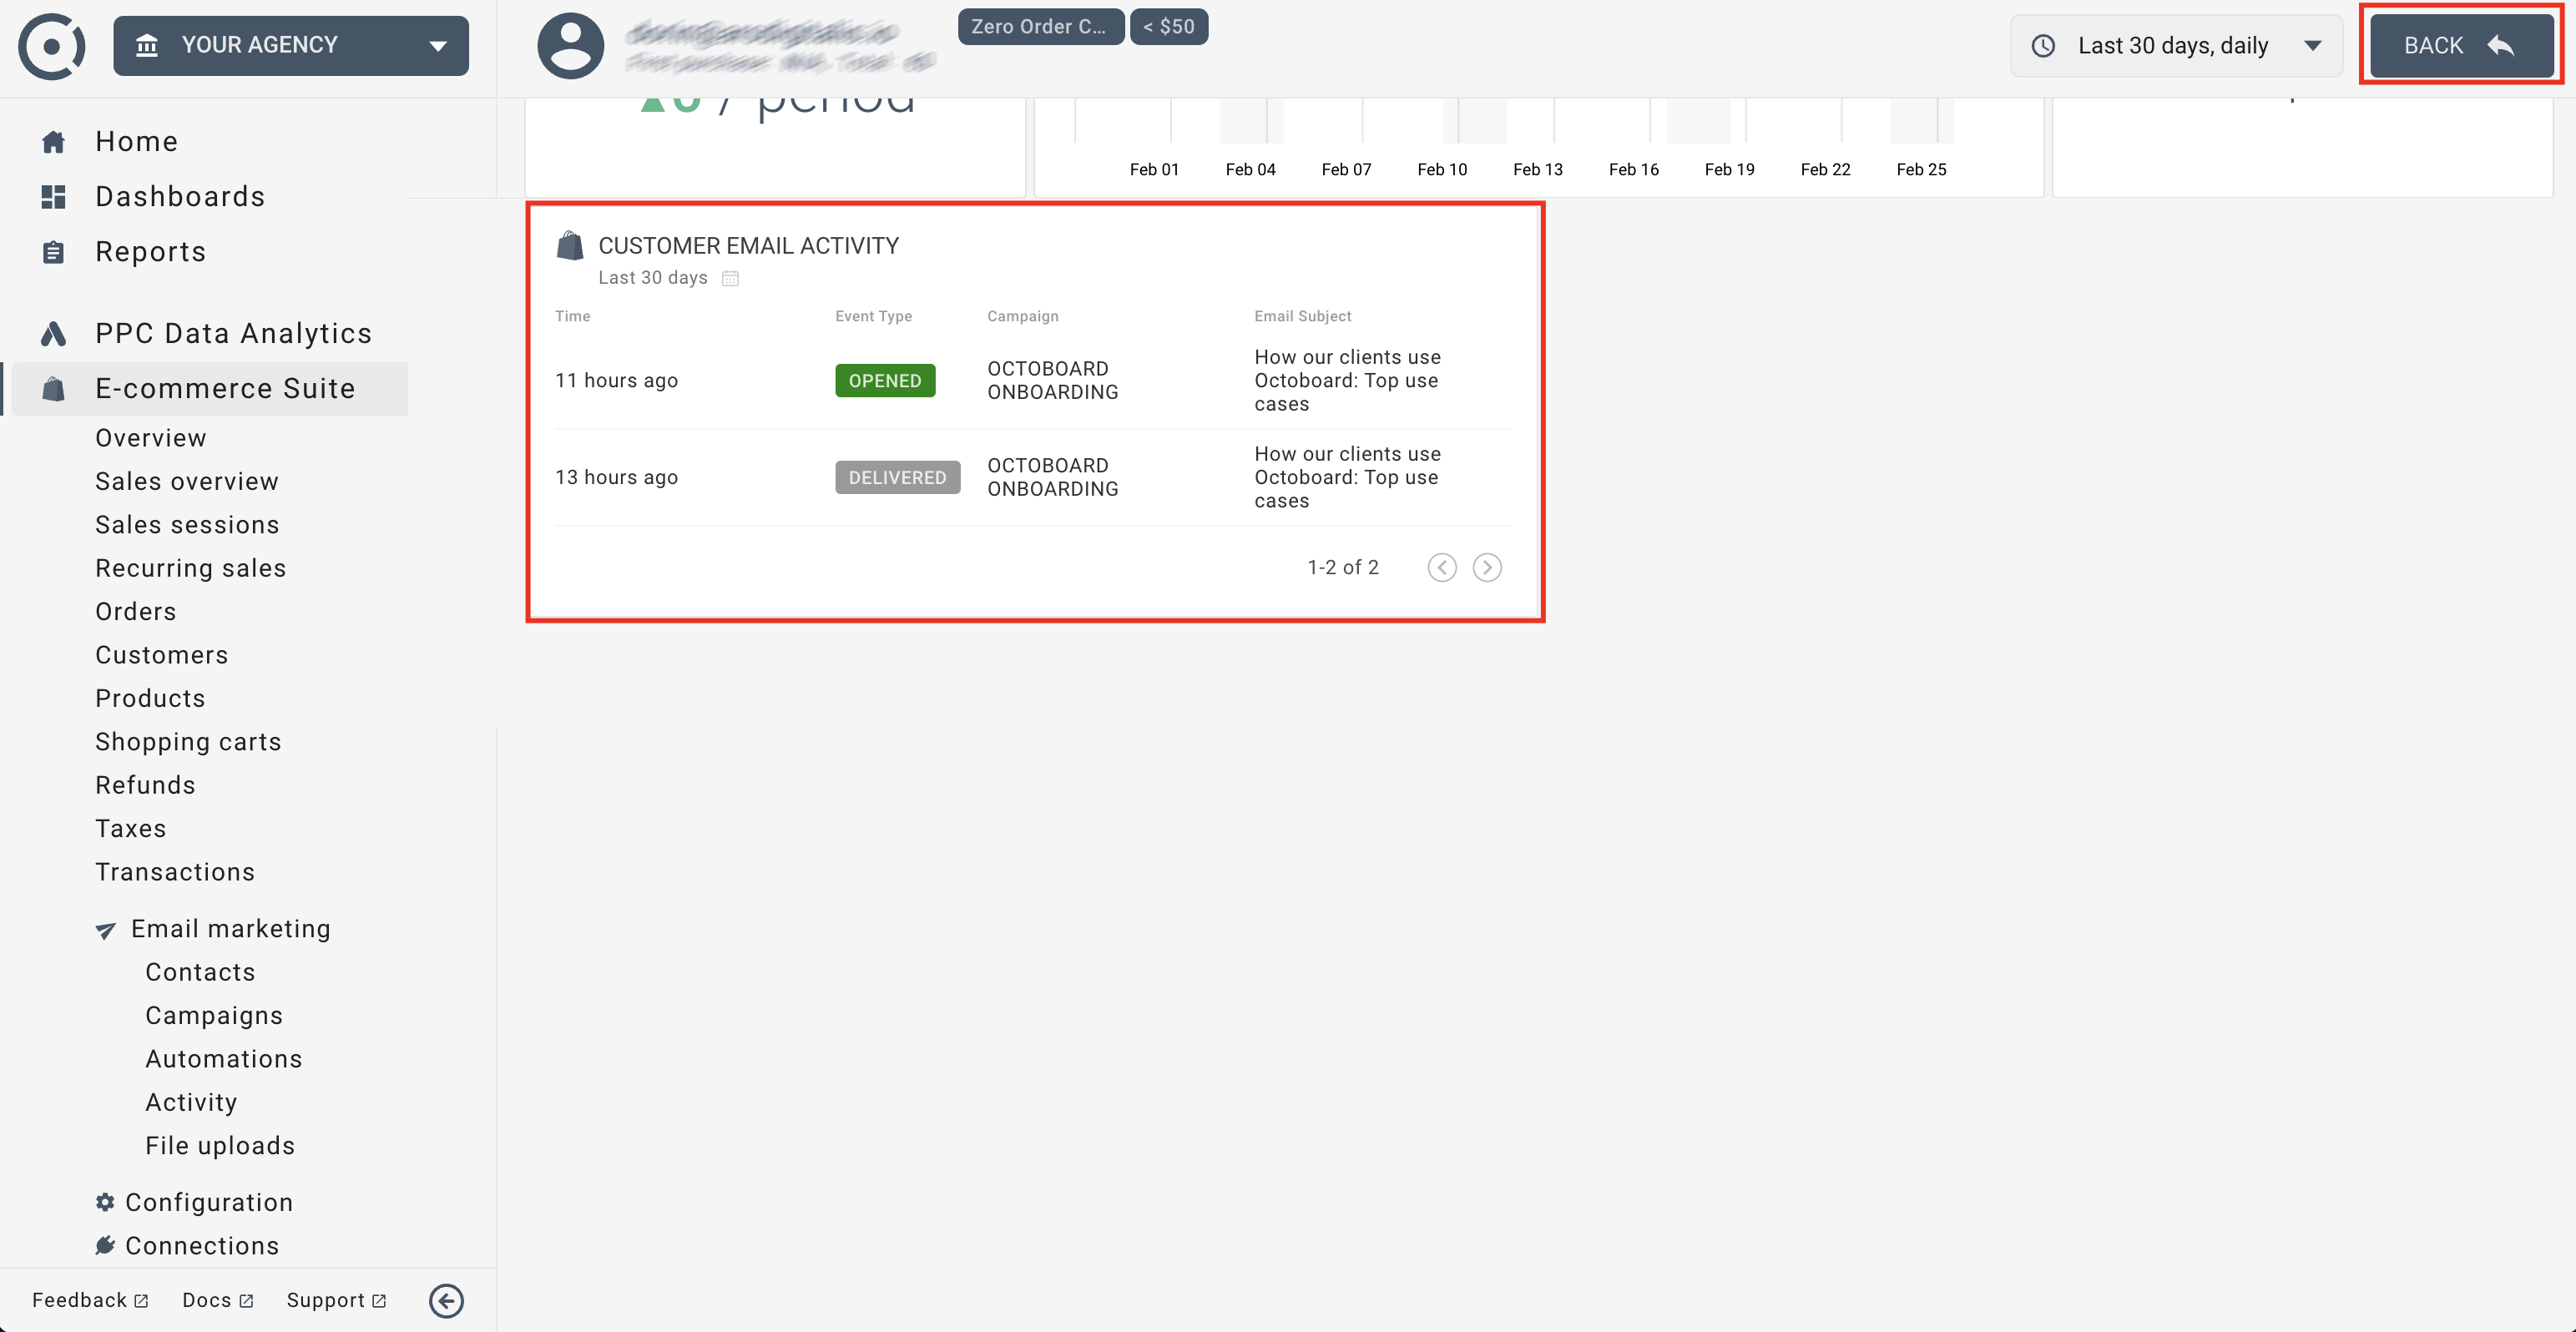
To view the contacts that you have uploaded or synchronized, go to Left Panel > E-commerce Analytics > Email Marketing > Contacts
To view your contact details, click the VIEW drop-down button next to the contact in the table.
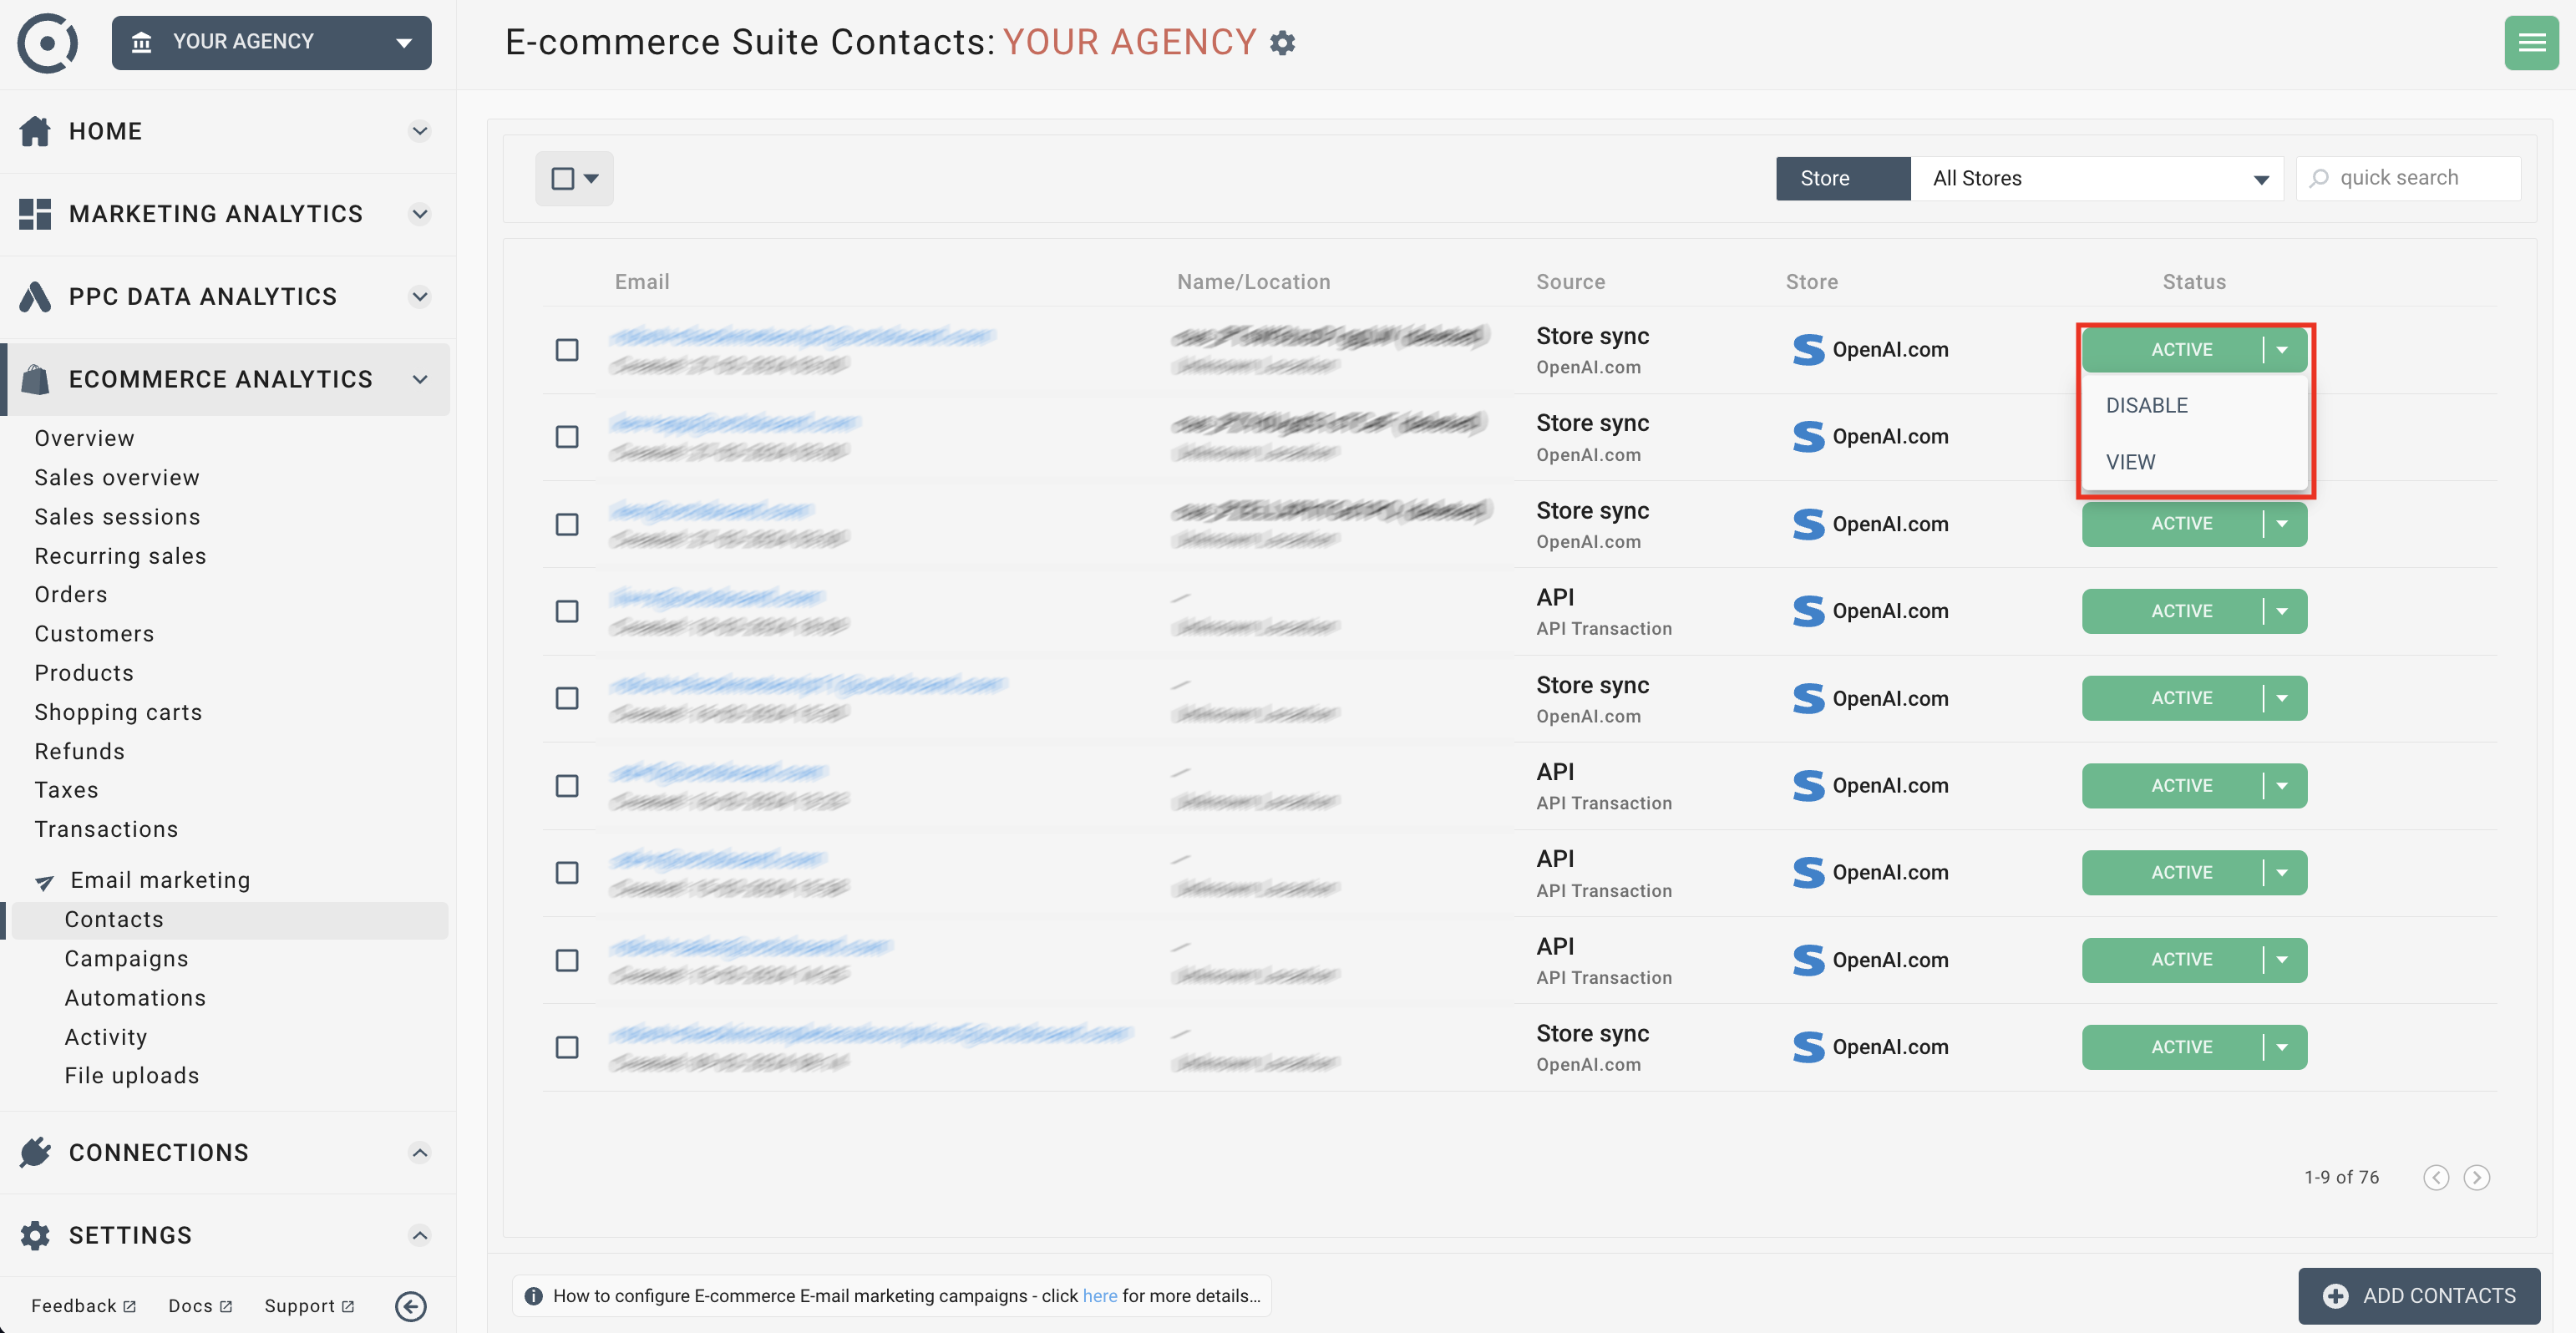
The view panel will show and will display details of the contact - its latest email and purchase activity as well as its browsing patterns.
If you do not want a contact to receive any emails, you can disable it by using the DISABLE drop-down button next to the contact in the table.
Tags are used to include or exclude contacts from email campaigns and as a custom variable for selected and managing your email contacts in the system.
To add or remove a tag, use the check box at the top-right of the contacts table and use ADD/REMOVE options from the list.